![]()

Quickstart
The NAB Easy Tap app is an innovative mobile payments and invoicing app that provides your business with an enhanced mobile selling and invoicing experience.
Optimised for small retailers, market stalls, and trades; NAB Easy Tap simplifies the process of accepting money from clients.
The app is designed to be straight-forward and easy to use, but, if you get stuck, these help pages will assist you in navigating past any issues.
Downloading the NAB Easy Tap App
First, download the NAB Easy Tap app from the Google Play Store.
If you need help downloading the app, please see Downloading NAB Easy Tap instructions.
For more information about device compatibility, please see Device Compatibility.
Sign In
Simply choose Sign in, enter your email address, and select Next.
If you already have a password setup for your account, then enter it and select Sign in to continue.
Otherwise, if this is your first time signing in, then you will receive a verification code via email. On the next screen, enter the verification code, then enter a new password and select Confirm.
Strong Passwords
When creating a new password, you'll be required to enter a password that is sufficiently secure. You'll need to avoid using short common words, repeated characters, or commonly used passwords (like password123).
Once you've set your new password you'll be signed straight in to the NAB Easy Tap app.
Don't have an account?
For more information about signing up for the NAB Easy Tap app, please visit www.nab.com.au/business/payments-and-merchants/nab-easy-tap.
Forgot your password?
See our troubleshooting page for details on how to reset your password.
If your business doesn't already have a name, then you'll be prompted to enter one. This name will appear on any invoices or receipts that you send. Don't worry, you can always change it later.
Next you can choose your business mode. Choose the business mode that you think most reflects the type of business you run. You can read more about the different modes on the Modes page. As with your business name, you can always change your mode later.
Just want simple payments?
If all you want to use NAB Easy Tap for is to take card payments but you don't want any of the invoicing or product management capabilities, then you should choose Retail Mode and turn on Simple Mode.
Fill in your business details!
Once you've signed in, you'll end up on the Dashboard (unless you've enabled Simple mode) and see a Complete Your Business Details card. If you select Complete Now, you can provide a few more details about your business which will appear on any invoices or receipts you send to your customers. You can also come back and edit your details from Business Details.
Navigating the App
Your main way of navigating through the different features of the app will be the nav bar down at the bottom of the app. Depending on the business mod you have chosen you may have different options here but in general it will look something like this:

You can use the options here to navigate around the main sections of the app detailed below.
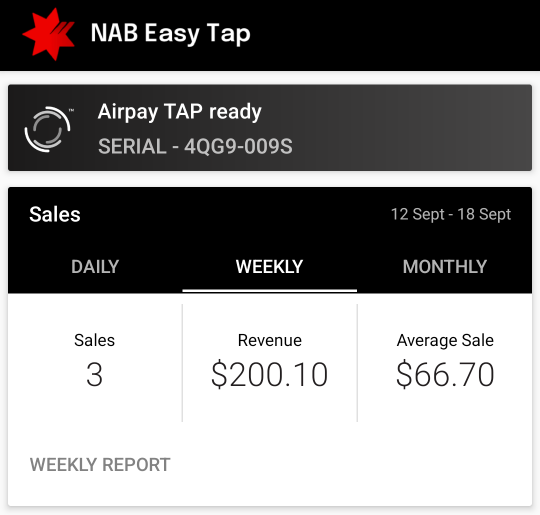
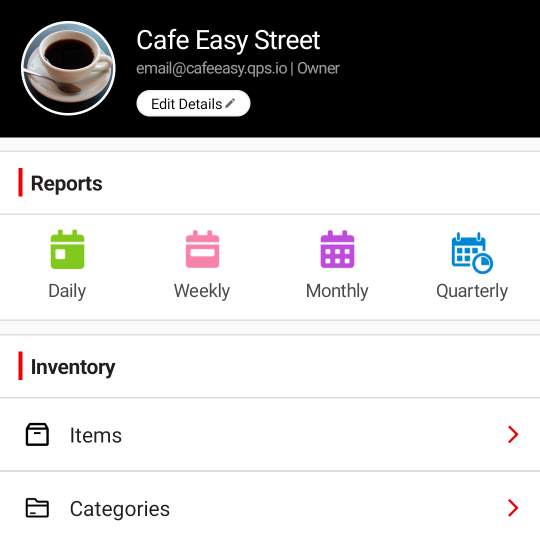
Your dashboard provides an overview of your business.
This is the first thing you'll see every time you open NAB Easy Tap and should help you understand how your business is going.
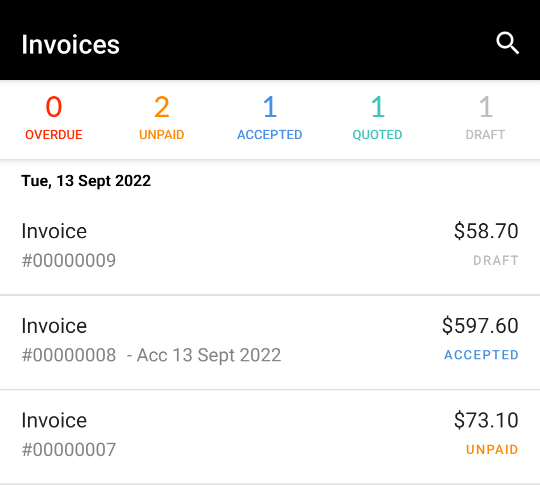
The invoices tab shows you all your active (unpaid) invoices, quotes and drafts. This is where you should look to create new invoices or do anything with existing ones.
The Invoices tab is only visible in Invoicing, and Hospitality modes. In Hospitality mode this tab is called Orders.
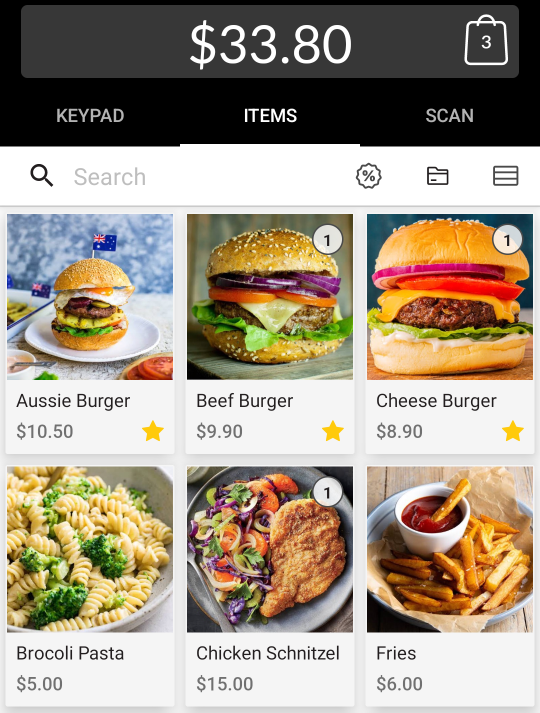
The Register tab allows you to make direct sales by adding line-items (either via the keypad or from your product list) and then quickly charge the customer.
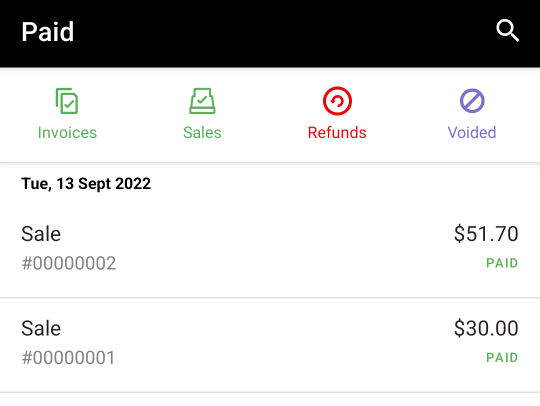
The paid tab shows you all of your sale history. Any of your sales and refunds will appear here.
Note that in Hospitality mode this tab is called Receipts.
The more tab allows you access to additional features that can help you manage your business, such as reports, inventory & customers, card reader tools, help, and more.
Getting Ready for Card Payments
Once you've signed in you'll end up on the Dashboard screen (unless you've enabled Simple mode, in which case you'll end up in the Register).
To take payments on your compatible device, choose Enable Airpay Tap (Android) under the Card Payments at the top of the dashboard. This will configure your device to take payments without any additional hardware.
Create a Sale
This section describes how to make a quick sale in Retail mode. Invoices work very similarly, but you should read more about them on the Invoices page.
graph TD
  A[Open Register tab] --> B[Use Keypad];
  A --> C[Add items];
  B --> D[Press Dollar Icon];
  C --> D;
  D --> E[Select Payment Type];
  E -->|complete payment| F[Send receipt];
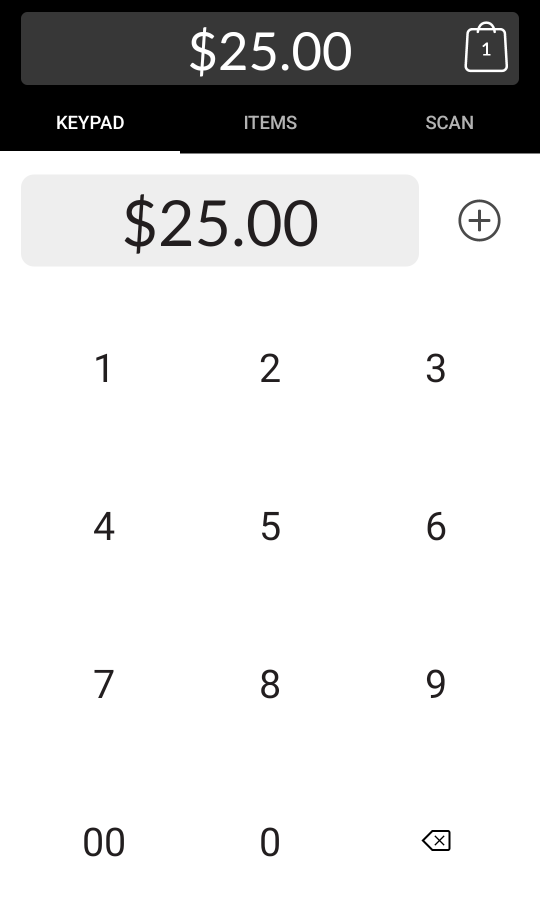
Select the Register tab at the bottom of your screen to view your register.
As you type into the keypad that value will automatically get added to your active basket. If you'd like to add multiple line-items to your basket you can tap the + button to the right of the amount display.
Tip
You can customise the line-item that you're adding to your basket directly by tapping on the grey amount displayed after you've entered the amount. This way you can give the line-item a name or make other changes.
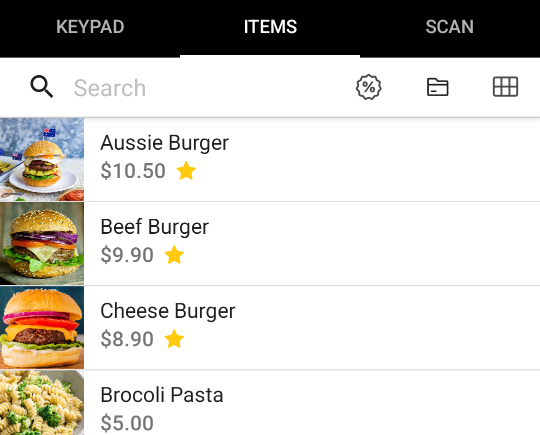
You can also look at the Item list by selecting that tab (if you have products enabled), however if you've just started you won't have any products yet.
You can view the current line-items in your active basket by tapping on the total (with the bag icon) at the top of the screen. From here you can delete (by swiping), or modify (by tapping) your line-items. You can also add notes or clear the sale entirely to start over.
Taking Payments
Once you've created a sale as above you can immediately make a payment for it.
Simply tap the dollar button at the bottom right of your screen to begin making a payment. The available payment options will then be displayed:
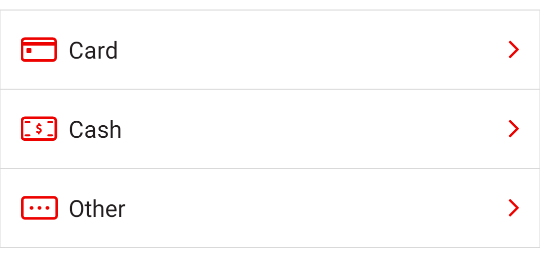
The payment screen asks what type of payment you'd like to do and has a few different options:
| Type | Description |
|---|---|
| Card | This will allow you to accept a card payment from your customer using or Airpay TAP. |
| Cash | If you take a cash payment you can enter the amount of money your customer has handed over and NAB Easy Tap will calculate any change for you. |
| Other | This allows you to record a payment that was made using a different method such as a bank transfer or cheque. |
Simply choose the payment method your customer would like to pay with and follow the instructions in the app.
If you'd prefer to do a split payment, you can tap the Partial Payment button to split your sale into multiple payments.
Tip
Partial payments can be split between different payment types i.e. cash and card.
Once you've successfully completed a sale you'll see a confirmation screen and have the option to send your customer a receipt. Simply enter their email address or mobile phone number to send them a copy of the receipt.
You can send (or re-send) receipts later by finding the relevant invoice, sale or refund on the Paid tab, selecting it, and then choosing share from the overflow menu.
Sending an SMS receipt
SMSes are sent using your devices SMS client. Your phone or tablet will need to have a valid SIM card and have support for sending SMSes, if you'd like to send your customer a receipt this way.
Next Steps
Now that you know how to create and process a basic sale you should be able to keep exploring the NAB Easy Tap app on your own.
If you get stuck, then you can read more about the features and functionality of NAB Easy Tap in the detailed help section.
If you have any comments or feedback, then please get in touch!